

Table of Contents

We share how you can fit, cut, and attach a modern men's lace hair system right at home. Achieving a natural look with a lace toupee tutorial step is easy when you follow the right process.
Unboxing and Preparing Your Custom Hair Piece Base
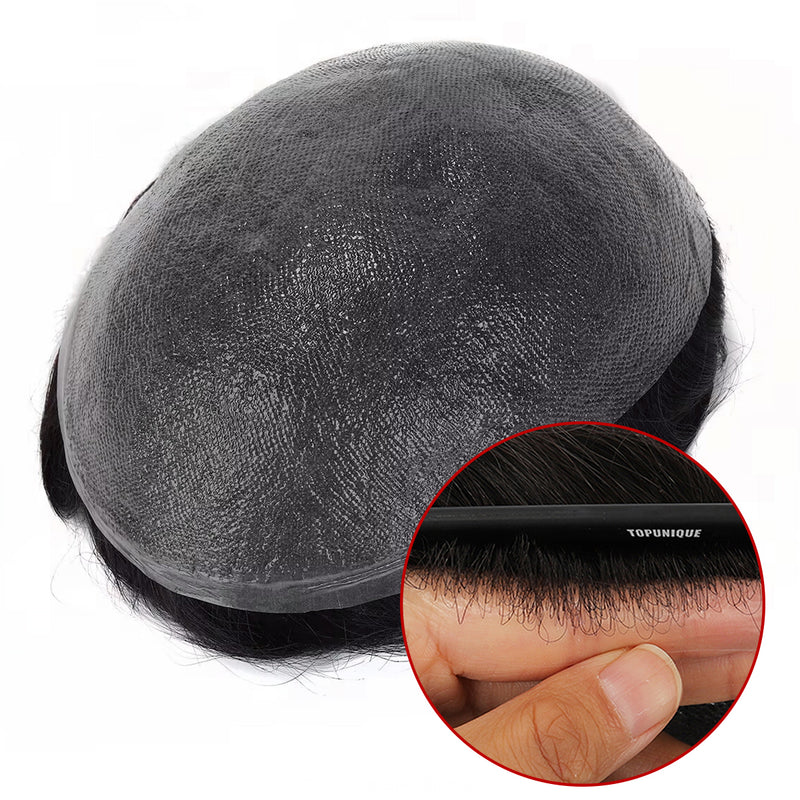
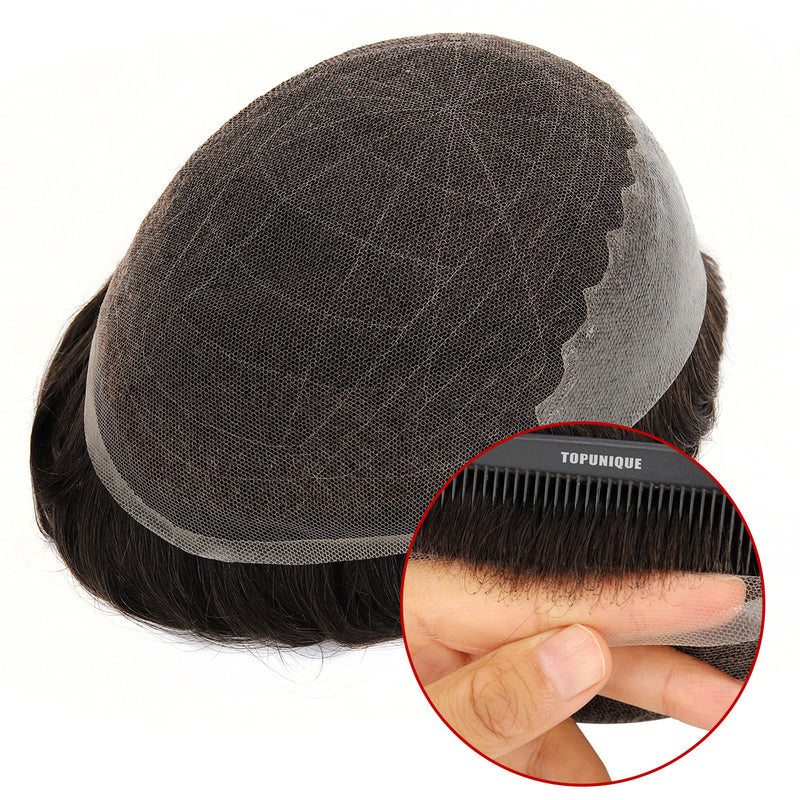
We start every fitting process by carefully unboxing the brand-new unit. You will find a protective net over the unit when you remove it from packaging. We flip the base upside down to inspect the material and size details printed inside. Every quality men's lace hair system undergoes precise factory dyeing to give you a uniform color tone across the entire cap. We check the front edge of the lace carefully because this section creates your visible hairline. You must protect this delicate front material during every step of our lace toupee tutorial preparation process.
We create a custom head template using clear plastic wrap and tape beforehand to match your area of hair loss. We pin this template directly into the center of the base material. We trace around the template edge using a bright green or light blue marker pen. We avoid dark black markers because black ink can bleed into the base and stain the light hair strands. We leave a tiny border of extra lace past the marked line at the front. This extra millimeter of bare material prevents a harsh line when you style your finished unit.
We pick up sharp hair-cutting shears to trim away the excess base material. We never use dull kitchen scissors because their rough blades easily fray fine mesh material. We slide the bottom blade flat along the base surface while making very small, slow cuts. This sliding technique trims the base without chopping off the attached long hair strands underneath. We cut out the back section first, rotate the piece slowly, and then trim along the delicate front edge. Learning this cutting technique in a lace toupee tutorial protects your men's lace hair system from unnecessary damage.
Preparing Your Scalp and Trimming Native Hair
We focus on preparing the natural scalp area while the cut base rests safely on our table. We grab electric clippers to buzz down any sparse growth on top of the head. We avoid using manual razors because razors often cause painful ingrown hairs and red skin bumps under adhesive. Clean, short stubble gives a smooth foundation for all adhesive tapes and liquid glues. A proper men's lace hair system requires a clean base for high bond strength.
We set up a folding three-way mirror on our table to see the back of our heads clearly. We wash our head, side hair, and back hair using a clear clarifying shampoo. All natural oils, dirt and mouses are stripped off to leave skin squeaky clean. Once the head is dry we do not touch the tape strips. Following these steps in our lace toupee tutorial makes your application last much longer.
We wipe the entire bald zone with isopropyl alcohol on a clean paper pad. Alcohol strips away invisible oil layers that cause tape to slip off early. We apply a thin coat of scalp protector liquid across the skin next. Scalp protector guards sensitive skin against irritation, reduces daily sweat buildup, and doubles the strength of your bond during hot summer months. Every high-quality men's lace hair system bonds better when the skin is prepared properly.
Custom Dyeing and Precise Tape Application
We like matching our root color to our natural side hair for the most seamless visual blend. We paint a cool medium-brown shade right at the base of the roots before applying our adhesives. Darker roots make the unit look like natural hair growing directly from the scalp. We write a tiny mark inside the base so we can identify the front edge instantly. This simple trick from our lace toupee tutorial prevents confusion during fitting.
We clean the underside of the base with isopropyl alcohol so that our tape adheres firmly. We choose high-bond, long-wearing double-sided tape strips to hold the unit firmly through active daily movement. We trim individual tape strips to accurately fit the curved perimeter of the base contour. We leave a tiny paper tab sticking out on every piece of tape. Securing your men's lace hair system with reliable tape ensures total daily comfort.
We first place pieces of tape along the back and side edges of the base. We gently score the paper backing with a razor to fold back small pull tabs. These raised tabs let us strip off the protective paper without getting sticky adhesive on our fingers. We save the front hairline adhesive step for last to ensure exact placement. This structured step in our lace toupee tutorial keeps the application process clean and organized.
Securing the Base to Your Scalp
We use the back edge of the system as our initial anchor point on the scalp. We place the back edge down lightly without pressing the tape flat against the skin yet. We stretch the unit forward to check where the front hairline lands on our forehead. We align the front edge about four fingers above our eyebrows for a realistic look. Proper alignment makes any men's lace hair system look natural and realistic.
We press the back tape down firmly once we confirm the front position is accurate. We peel off the protective paper backing from the side tape strips, one by one. We stretch the material gently forward and sideways as we press it flat onto our head. Stretching prevents annoying ripples, air pockets, and bumps along the top of the scalp. Our lace toupee tutorial emphasizes smooth stretching for a comfortable fit.
We use a light barber pencil to draw tiny dots on our forehead along the exact front edge. We lay down thin mini tape strips right behind these pencil marks on our skin. These small front tapes lie flat against the skin and stay invisible under light. We lift the front lace and press it down slowly over the fresh tape pieces. This step ensures your men's lace hair system has a seamless front hairline.
Use a soft cotton pad moistened with rubbing alcohol to remove the pencil marks. After that we wash the hair with clean water and lightly comb back the hair. We tie a tight elastic band or cloth bandana around our hairline for ten minutes. This constant downward pressure forces the fine-mesh material to bond tightly to the tape layer. Following this part of our lace toupee tutorial guarantees a firm, secure hold.
Styling Your System with TopUnique Hair Quality

We take our newly attached system to a professional stylist for the final blending haircut. A skilled stylist cuts modern layers, thins out bulk, and seamlessly blends the unit into your natural side hair. Having a firm, tight tape bond allows your stylist to comb and pull the hair with proper tension during cutting. A well-fitted men's lace hair system easily withstands the tension of professional styling sessions.
We rely on TopUnique Hair systems because high-grade units handle daily styling and washing with ease. TopUnique Hair crafts durable, breathable lace bases that stay comfortable during workouts and warm weather. Their realistic hair direction and premium construction give you total styling freedom every single day. Matching this lace toupee tutorial with TopUnique Hair products yields amazing results.
We recommend following this men's lace hair system routine to maintain long-lasting confidence in your everyday appearance. Taking your time during base trimming, scalp prep, and tape placement guarantees a flawless finish every single time. Every step in this lace toupee tutorial helps protect your hair investment.
Mastering Your New Hair Routine
In this lace toupee tutorial, you will learn what you need to know to take care of your hair system at home. With these simple steps, you will be able to have a natural appearing hairline and be more confident each day. Applying a men's lace hair system becomes second nature with regular practice. Explore the full collection at TopUnique Hair to find your ideal men's lace hair system today.




0 comments